 I frequently have the need to get text into separate boxes in Visio. And often I need those boxes to have some sort of incremented series, such as 1, 2, 3, or A, B, C. I’ve built some SmartShapes to help ease my pain, and I’m sharing them with you today!
The Goal
With all the time at home and inside lately, I wanted to make some sort of chart to help me keep my body and mind it shape. I find it more satisfying to actually hang a list on the wall and physically cross items off. You can easily see gaps if you start to slack off (the shame!)
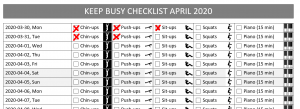
So I wanted to make something like this:
click to view larger image
Now, this is easy enough to do in Excel, especially with the Autofill feature. But it’s not as easy to add check boxes, icons, shading and other effects as it is in Visio. Ok, maybe some of the Excel pros out there can do most of this stuff quickly. But for me, copying a bunch of boxes in Visio is pretty simple. But getting incremented values is not so easy…
…until NOW!
The Ordered List Shapes
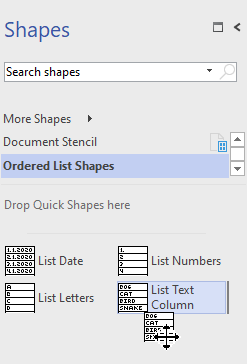
In the download at the end of the article, you’ll find a stencil that contains four “ordered item” masters: List Date, List Numbers, List Letters, and List Test Column:
List Numbers
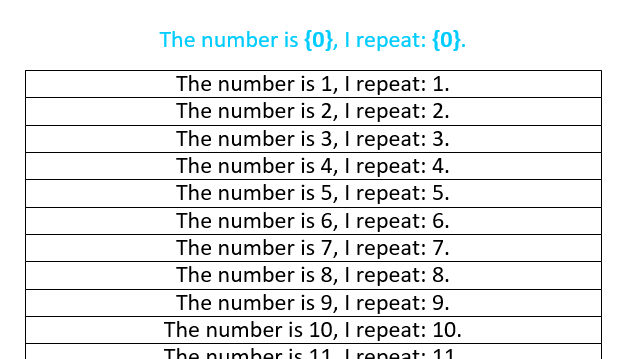
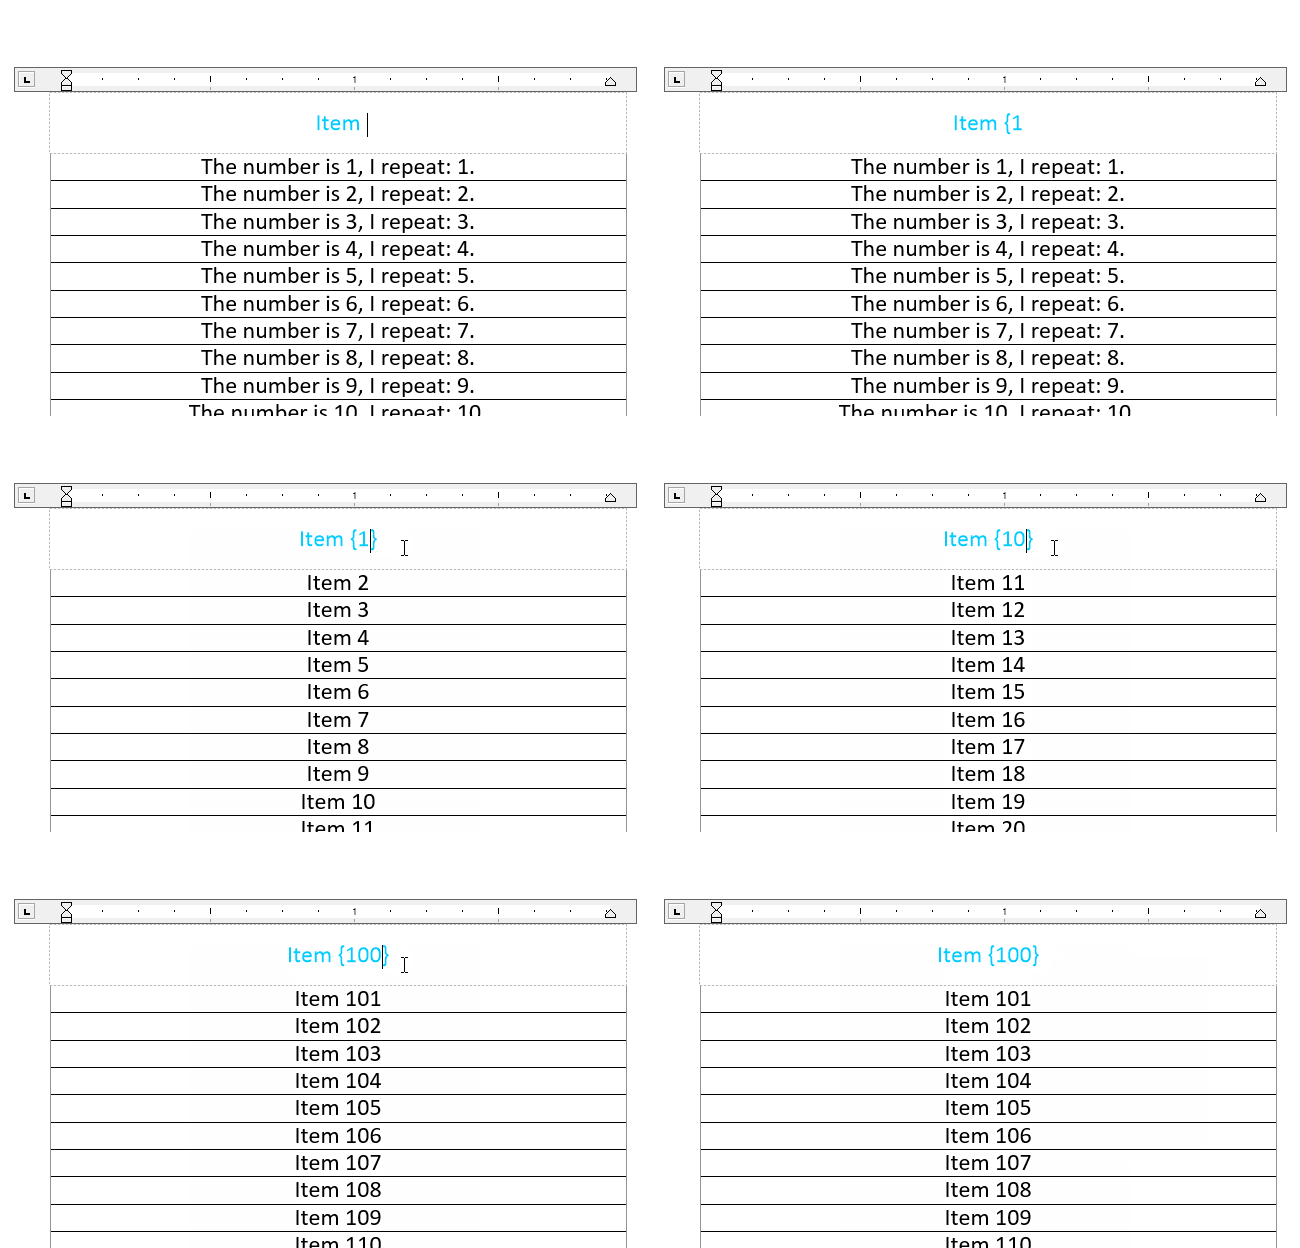
I’ll explain how the List Numbers shape works first. The idea is that you want to create a bunch of boxes that have essentially the same text, but some number increments. All you have to do is select the shape, and type some text, adding a number inside a placeholder expression. You wrap the placeholder number in curly braces, and you can have more than one instance of the placeholder. The blue text is what you edit:
It’s a bit easier to understand if you see the animation:
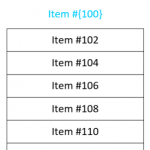
You can change the step that the numbers increment by changing a field in the shape’s Shape Data. For example, the thumbnail at the top of the article shows a shape with text that starts at 102 and goes up by 2!
Once you’ve got the list looking the way you want it, simply ungroup the shape. Just press Ctrl + Shift + U then click OK when the message”This action will sever the object’s link to its master” pops up. The reason for ungrouping is that the shapes contain 100 boxes, or 100 rows by default. You likely won’t need all of them. So ungroup, then delete the excess boxes.
Now you can select them all, resize them, change the font size, and position them on the page, as needed.
List Letters
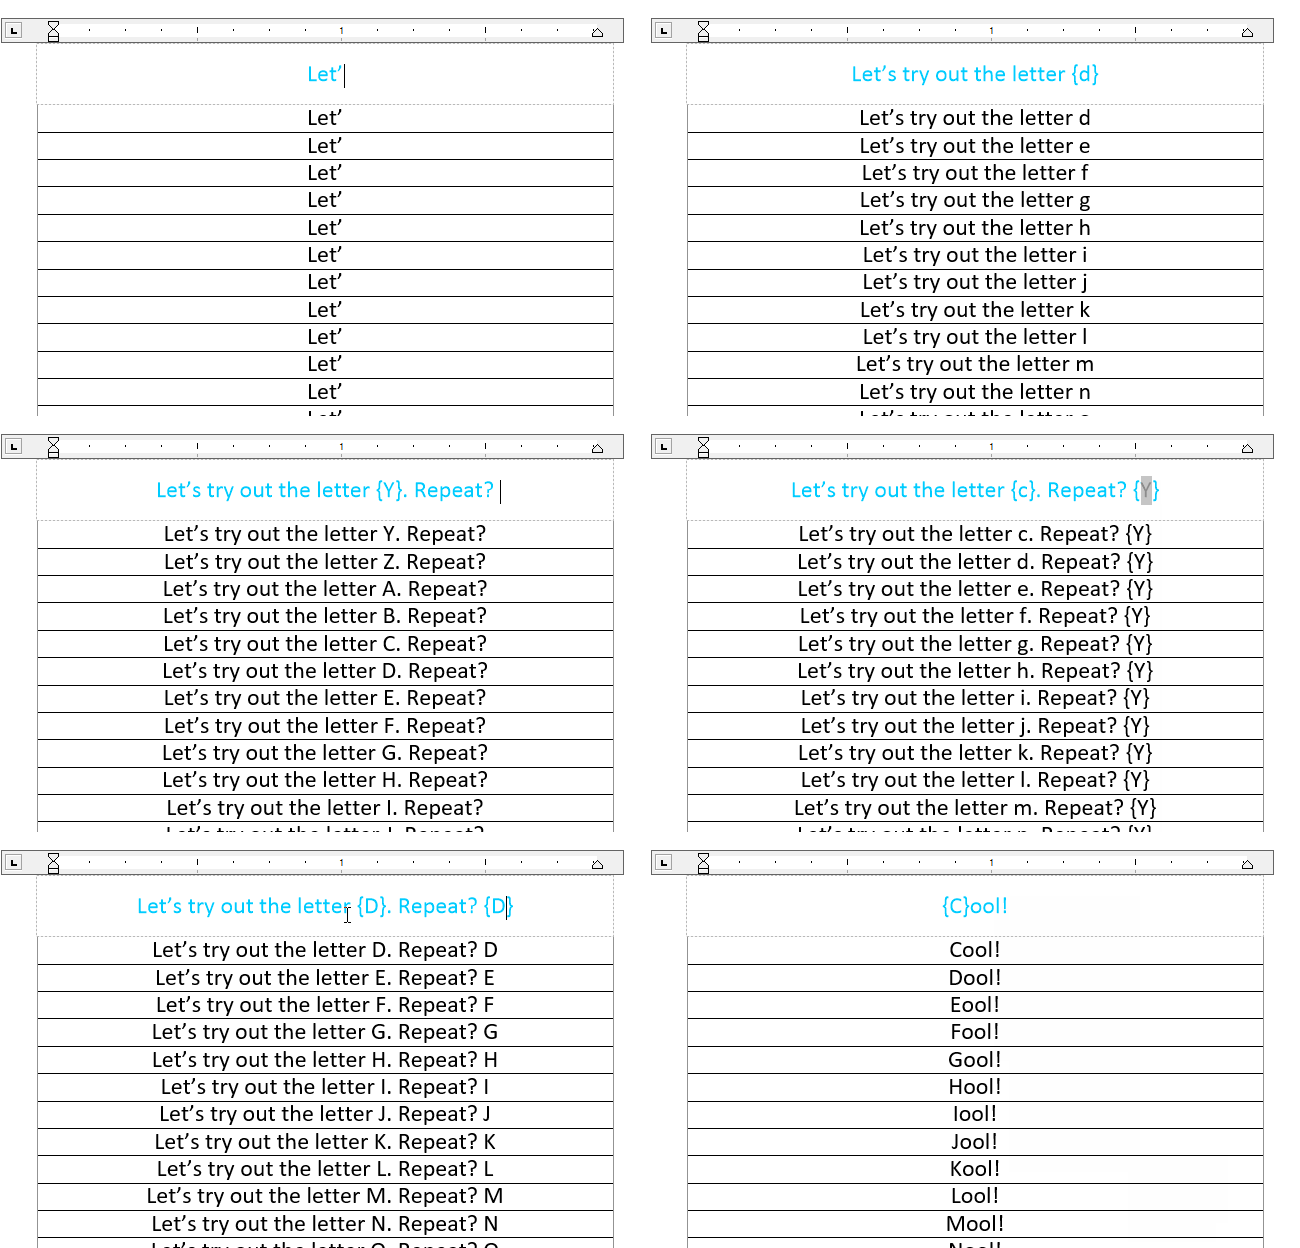
The List Letters shape is just about the same as List Numbers, except that your placeholder has to be a letter from a-z or A-Z. No special characters are supported–so no umlauts or grave accents. I didn’t even try Cyrillic.
If you do want to support different characters, it might be as simple as editing the ShapeSheet cell: User.Chars. But I haven’t tested it yet. Currently, that cell is set to =”ABCDEFGHIJKLMNOPQRSTUVWXYZ”, and I’m usually pretty good about parameterizing my shape logic. So you can probably enter any list of characters that you want!
You can see List Letters in action as well:
List Date
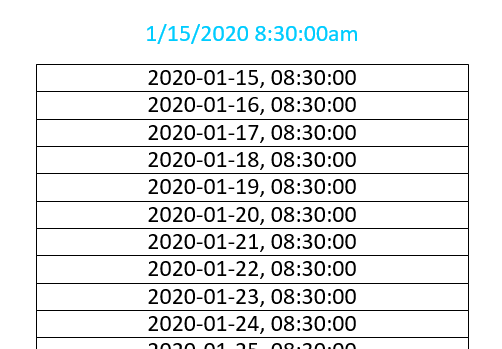
There’s also a shape that handles dates:
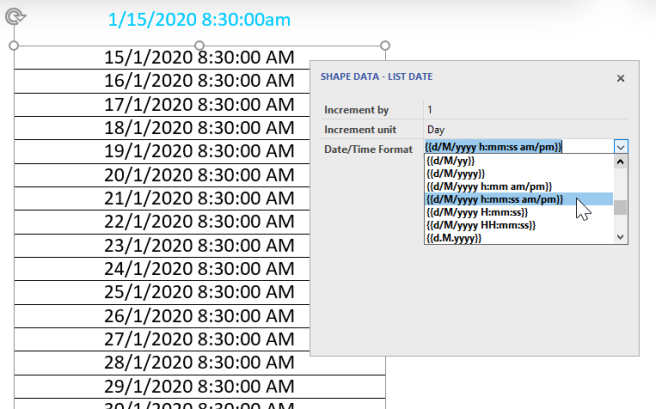
If you look at the Shape Data panel, you’ll see there are options for incrementing each box by Year, Month, Week, Day, Hour, Minute, or Second. You can also step the date/time values by a number other than 1. Just set the Increment by field. The last field offers a whole bunch of date/time formatting options. If you don’t find the one you need, you can type in a custom format:
List Text Column
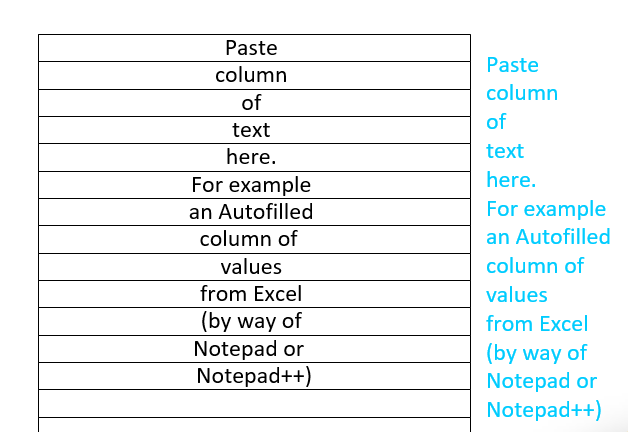
The last shape is a bit different. It is designed to catch all the cases that you can’t do with the other shapes. To use this one, you just need a column of text. In other words, a block of text with multiple lines.
The obvious choice is to generate a complicated list of items in Excel–using Autofill or more complicated logic!
The only problem with Excel is that way it places a selected column onto the clipboard. When you paste it into Visio, it just becomes one big paragraph of text, which won’t parse correctly when you paste it onto this shape. Instead, copy a column from Excel, then paste it into another editor like Notepad or Notepad++. The Excel text will paste into those apps properly as a block of multiple lines. You can then copy that text and paste it into the List Text Column shape.
This shape is also great if you just need a bunch of boxes that contain some text that you have. I run into this need all the time. I have a list of items from an e-mail or a specification, and I want to make a bunch of boxes out of the text as I start some sort of design or planning. With this shape, I just need to get the items onto separate lines, the copy and paste that block into this shape’s text:
The shape will parse the lines of text and give each box one line of text.
Download the Ordered List Shapes!
Download “Ordered List Shapes”
s!Aj0wJuswNyXlh23l267mEEnwqhV_ – Downloaded 2413 times –


Leave a Reply