Fellow MVP David Parker from bVisual.net just posted a link to a very topical blog post that he made a few years ago.
With all the news about the Britain attempting to leave the European Union (and England leaving the UEFA European Cup at the hands of Iceland), I figured this article needed extra attention!
In the article, Union Jacked, David made a single Visio SmartShape that allows you to to combine and remove the three elements of the United Kingdom’s flag. Using Shape Data fields, the flags of England, Scotland, and Ireland can be independently added or removed from the union, so to speak.
His article offers a downloadable Visio file that will greet you with this very red, white, and blue drawing page:
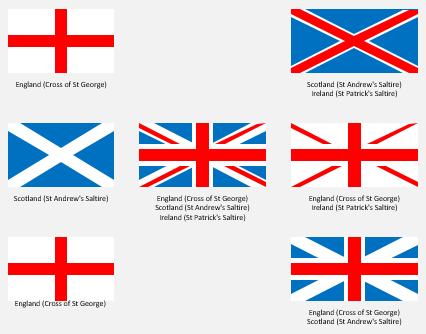
Yes, you see seven shapes, but they all stem from one, super-smart Visio multishape.
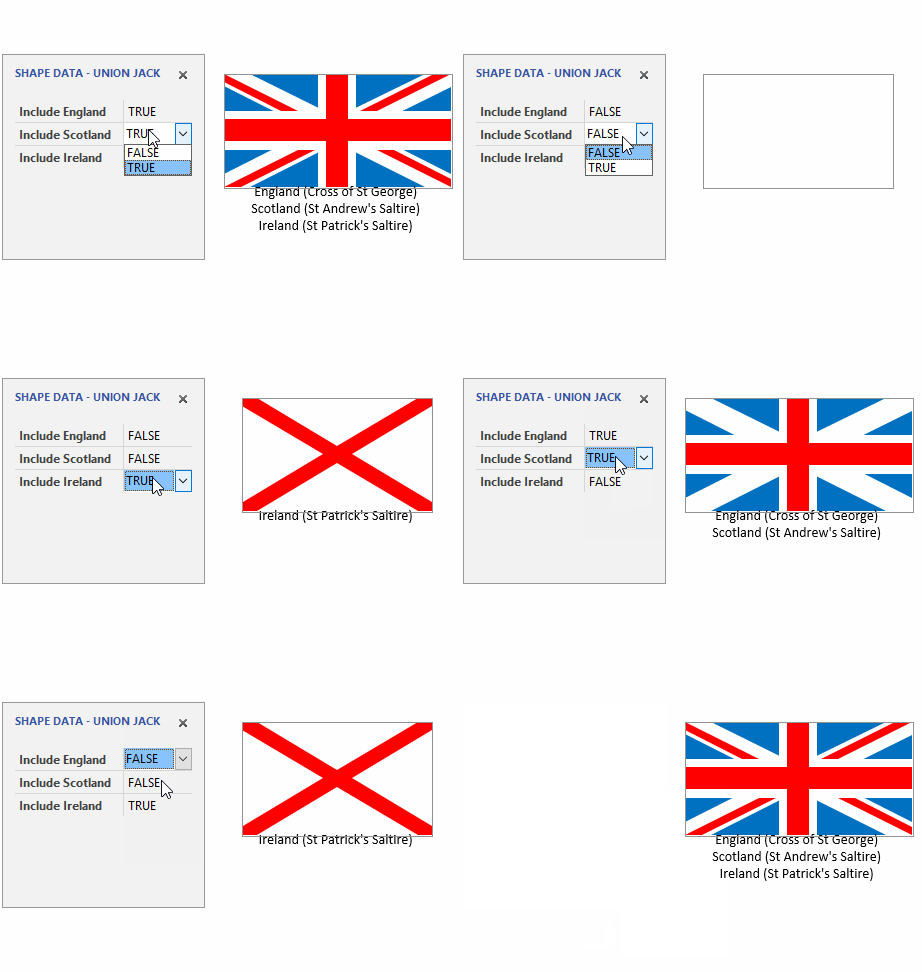
When you click on a shape, you’ll notice that it has three Shape Data fields. These let you turn the individual country flags on or off, like this:
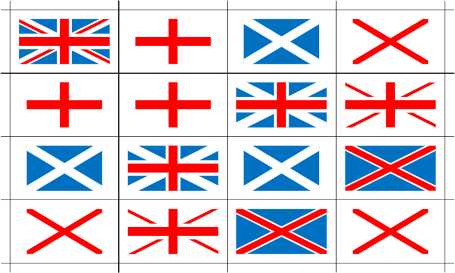
The permutations reminded me of a mathematical times table:
I got to playing around, thinking about what I could do for this article’s thumbnail graphic. I came up with this odd notion of concentric circles, creating a cacophony of combinations. It’s quite the frightening mishmash–much like the state of affairs in the UK.
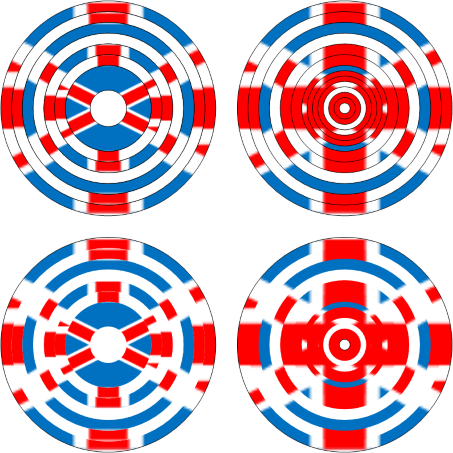
Shortly after publishing, one commenter on the forum suggested that it might be used for target practice to vent frustration. Maybe we could turn it into the standard dart board design for pubs throughout the Kingdom?
Anyway, for the ShapeSheet nerds amongst you, I’ll mention a quick list of techniques I used to create the craziness above. While not an exhaustive tutorial, the following info might be interesting, spur your imagination, or give you further shape-design topics to investigate. I used techniques similar to those used in the smart frame shapes , and also in the Text on a Circle Visio SmartShape to build a special ring shape that could then hold a fill pattern of one of the seven flag combinations.
Here’s a run-down of the steps I followed:
- Draw two circles and Combine them.
- Add two Control Handles to the shape to control the inside and outside radii of the two circles.
Now we have a ring shape that can easily be configured by pulling on the control handles. - Export all of the permutations to image files: uk, e, s, i, es, ei, and si.
- Make custom fill patterns for each one of these images, using the same names as in 1.
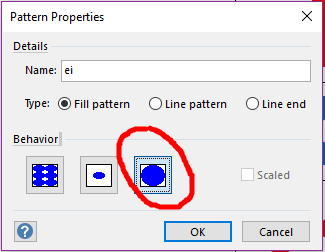
- Set the behavior attribute for the patterns to “stretch”:
- Create a fixed-list Shape Data field that has all of the pattern names.
- Set the formula for the FillPattern cell to USE(Prop.FillPattern)
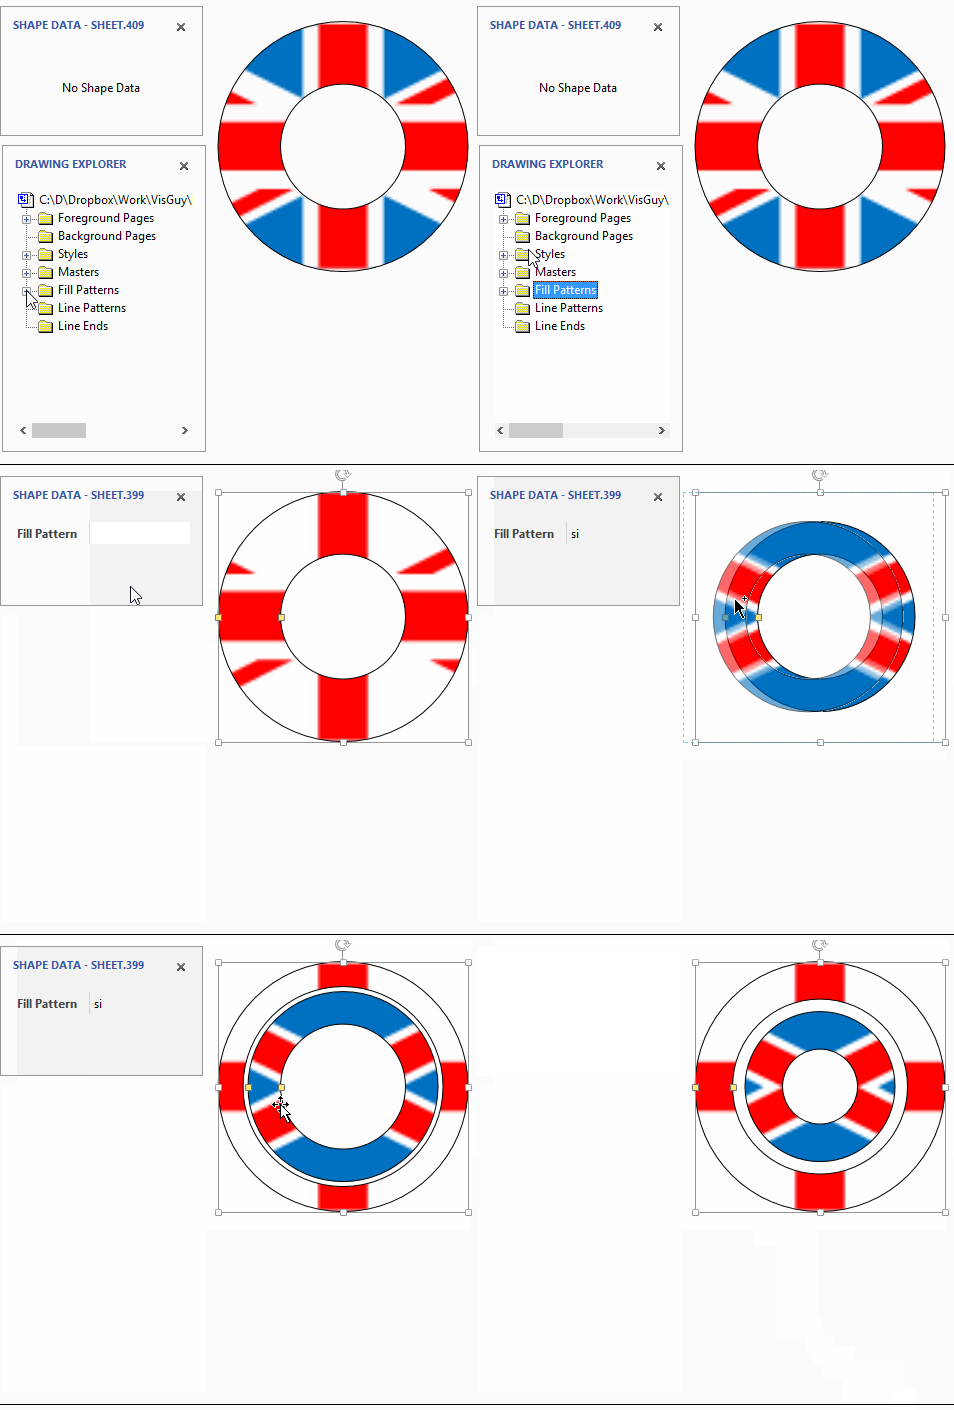
Now the user can simply choose a fill pattern name from the drop-down list in the Shape Data panel, and the corresponding custom fill pattern will fill the ring shape! - Place a bunch of rings on top of each other, but with different radii, and choose different fill patterns for each one!
- Export the selection of shapes to PNG and import into your blog!
Here’s my little shape in action:
Be sure to check out David’s article to learn about some of the other features his multishape has that I didn’t discuss, and to get the download from his OneDrive!

Leave a Reply